Last week, I have automated the build system on windows by Cruise Control .net, unity3d and a couple of ftp tasks. However, there was a couple of problems in running ccnet as a windows service mode. While it was running great in command prompt, it gives errors in service mode. It wouldn’t be an issue if there is a dedicated build windows server and nobody will mess with the command window. But unfortunately it wasn’t my case. Now I turned my eyes to mac machine which I use it less frequently. I spent a few hours to find a good solution for it and came up with this combination. Hudson CI + Subversion + Unity mac + Hudson SCP plugin + Hudson post build script.
Here are the steps:
- Download hudson.war file from http://hudson-ci.org
- Place the war file into the directory of your choice. In my case, I made a special directory called ”/_infra/” and place it in here. All CI related files will be stored under ”/_infra/hudsonci/”.
- Though it will run great by running this command “java -jar hudson.war”, I want to run this more of a daemon-style. There is another option of installing tomcat and place the war file under webapp but it is too much in my case. So the solution I used is this. Make this file “hundson.ci.plist” with the following information first. You can download it from here. Another trick I used here is that by explictly expressing the installation directy with “-DHUDSON=/_infra/hudsonci”, you can install the hudson in the designated directory instead of ”~./hudson”.
- Place the file in ~/Library/LaunchAgents/.
- Load this plist file as a service by running this command: “launchctl load -w ~/Library/LaunchAgents/hudson.ci.plist”
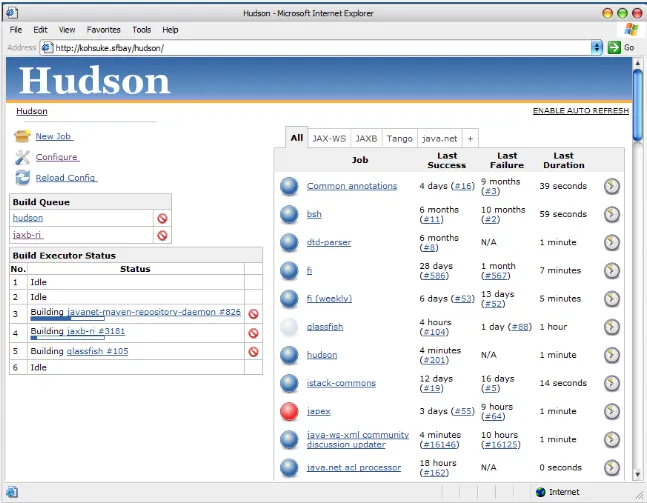
- Check hudson installation in http://localhost:8080 References: